Essential Jewellery Making Kit
 If you were a crafty kid like me you probably had a little arts and crafts corner in your room with some crayons and coloured paper, where you would happily spend hours drawing pictures and designing other pen-and-paper creations. Nowadays I still like to get into a 'creative zen mode' where I just make stuff, but instead of drawing crayon pictures I like to make jewellery. It's not quite the same though. You only need a good set of crayons and some paper to draw a pretty picture but making your own jewellery requires a lot of different components: you need thread, jump rings, chain, beads, kettle chains, etc. It find it super frustrating when I get a spontaneous idea but can't implement it because I'm missing one little tiny lobster clasp in the right shade of silver. If you want to get into jewellery making or want to be able to get creative whenever you feel like it, you need a well-stocked kit. In this post I will show you the things I consider essentials, but keep in mind that I mainly do chain-based bracelets, so my kit will look different than that of someone who uses a lot of different beads for example. Although the list below may seem big, a kit like this shouldn't cost too much money or take up a lot of space because all of the things are tiny and you can keep them all together in a little box.
 Tools: For most beginner's to intermediate jewellery projects you probably won't need any other tools than some pliers and a wire cutter. With pliers you can easily manipulate all of the little components you need, like jump rings, kettle chains or cord ends. If you don't want to invest in a wire cutter just yet, you can also use strong scissors for cutting chains and components; although wire cutters are much easier to handle and create a smoother cut.
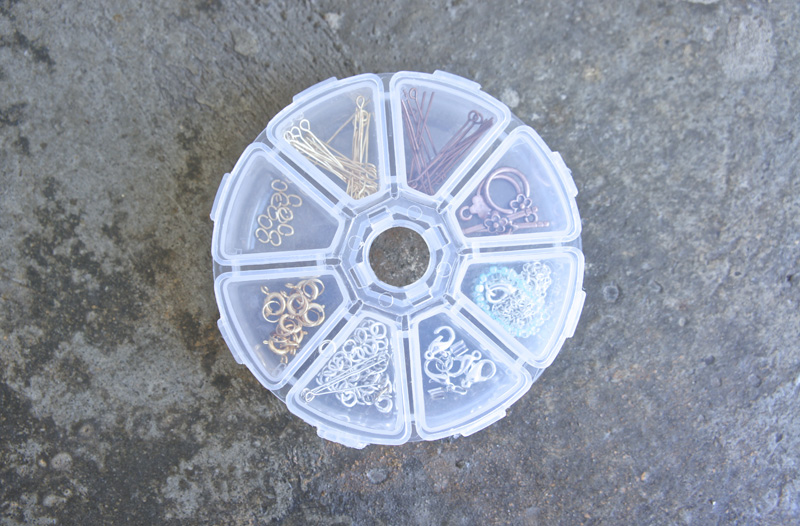 Components: I keep all of my essential components in this little box. Jump rings are the glue of any jewellery project: you need them to connect chains with each other or with other components. To make bracelets and necklaces you will also need clasps, and perhaps some cord ends, which are basically little clamps used to attach thread or leather cord to a clasp or jump ring. I also keep a few kettle chains at hand: they are basically just straight pieces of wire that can be manipulated into any shape with the pliers. A good tip I've learned is to always make sure that all your components and the chains you use have the same exact shade. For example, platinum-coloured or a darker nickel based silvers will look quite different when next to each other.

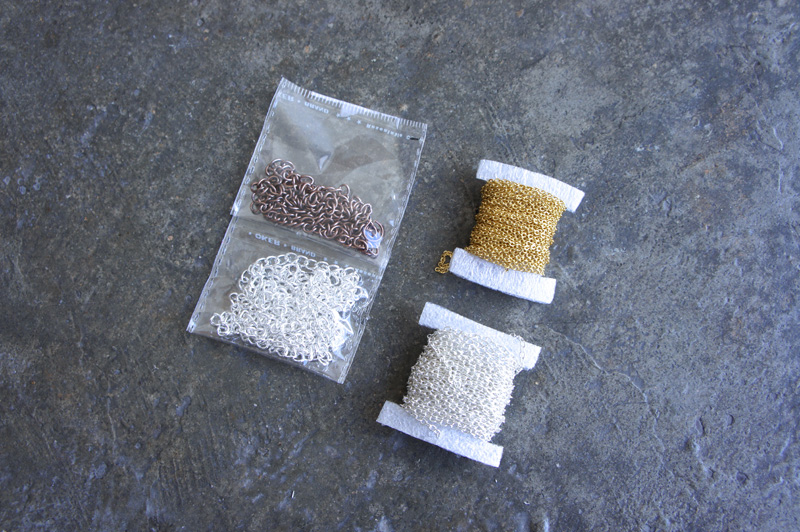 Chains in gold, silver and antique copper; and in different sizes. You can create lots of different designs with just some chain, jump rings and a clasp (like this simple ring bracelet or this one).
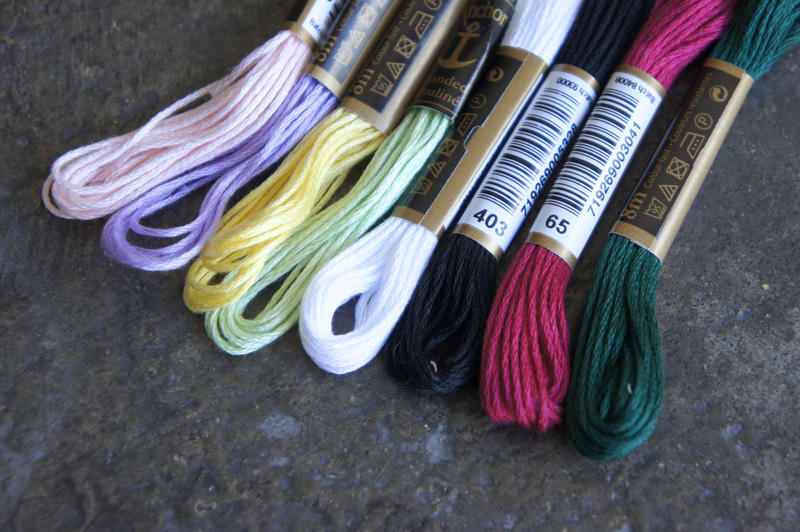 A selection of coloured embroidery thread for making braided bracelets (like this one or this one), friendship bracelets or delicate thread bracelets.
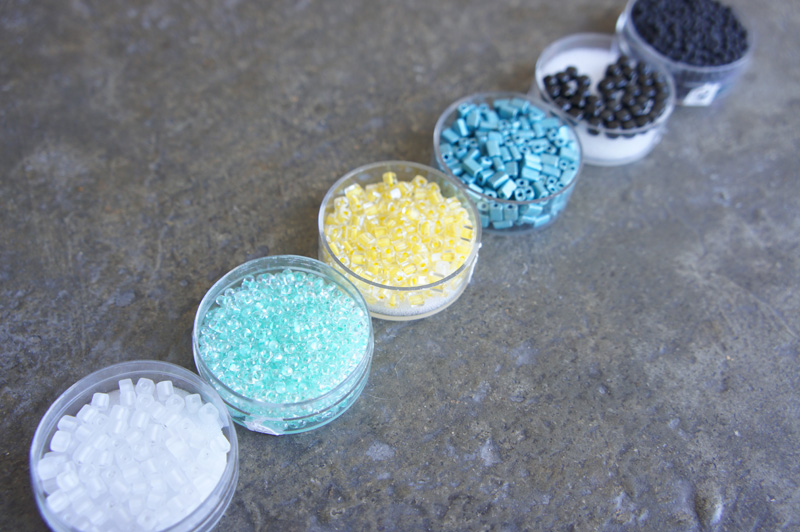
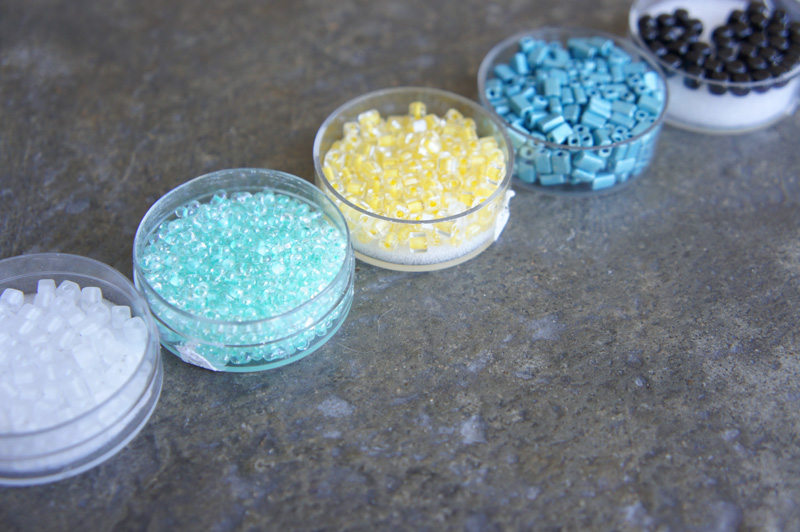 Various beads e.g. for making bracelets or for home decor.
For making rings or earrings: adjustable ring bases and ear wires.
How do I store everything? Well, I keep my little components in the box I showed you above, but I haven't yet found the perfect storage solution for the rest of the material. I'll tell you once I've found it!
Click here for more jewellery DIYs.
What are your jewellery making essentials? How do you store your kit?
